How to Create a Whimsical Easter Basket
Although I think of Easter as a wonderful and meaningful religious holiday, I must admit that I also look forward to creating an Easter basket that’s fun for kids and adult kids. This year we will celebrate Easter on Sunday, April 16th.
Easter always falls on the first Sunday following the first full moon …after the first day of spring. There is one exception, but I’m trying to keep this whimsical and light-hearted! “Mr. Google” is a better man than I to help you with specifics if you want to know more.
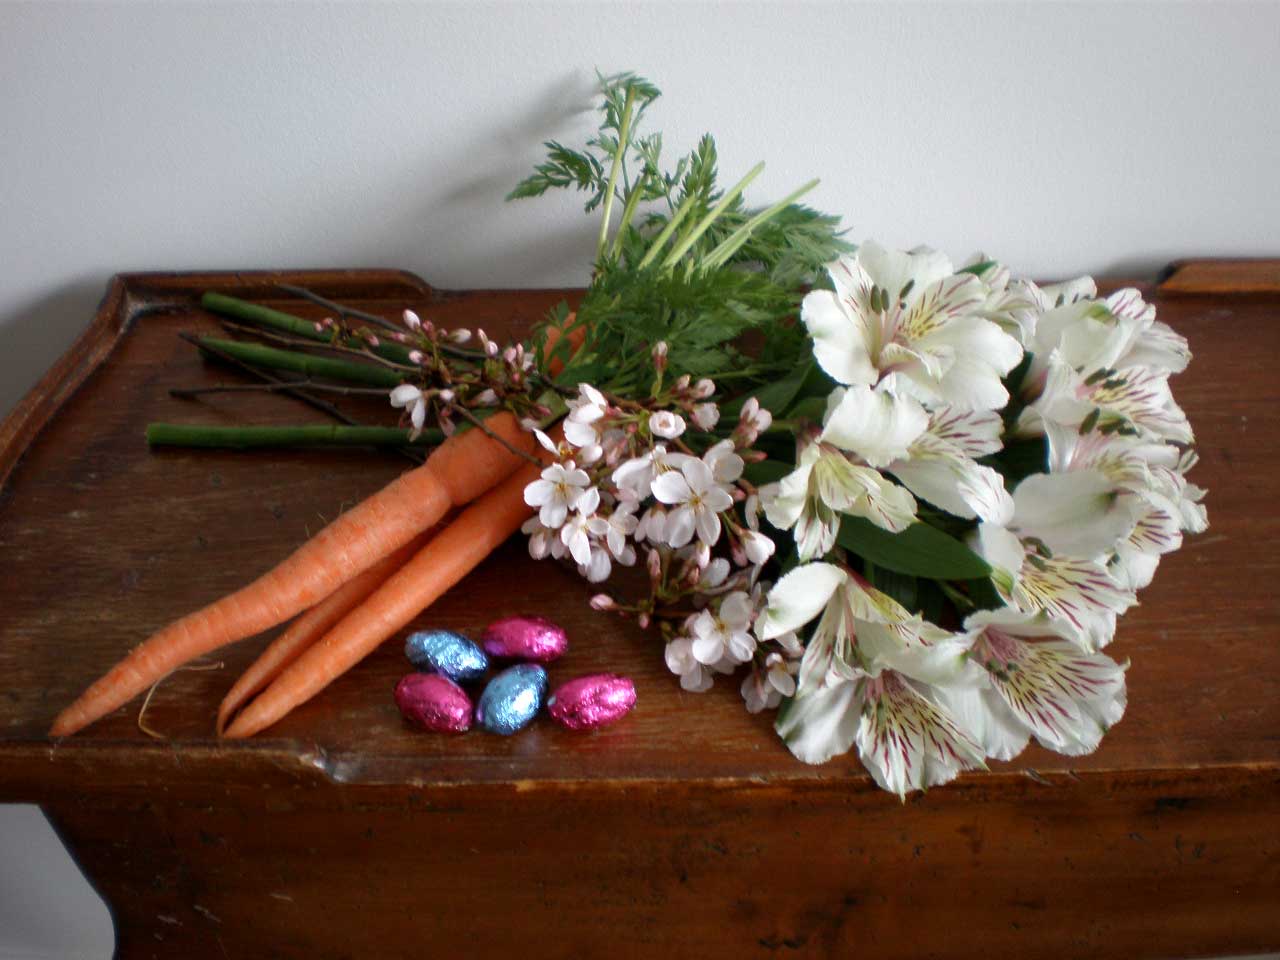
Our “floral fun” for the holiday is to create a whimsical Easter basket. So it is obvious that you will need a basket. You will also need flowers. For my Easter basket, I have chosen Peruvian lilies, a small type lily that has a cluster of 3-5 blossoms on each stem. They are also called alstroemeria. The stems of each individual blossom are usually about 4” long. In addition, I used twigs from trees that were in bloom with tiny pinkish blossoms growing right in my front yard… and for the whimsy, carrots with tops and chocolate Easter eggs wrapped in Easter colors of foil!
As always, it’s important to fully hydrate any fresh flowers or other fresh products, such as the carrots. The best method to insure good hydration for the flowers and twigs is to cut the ends of the stems under water with a sharp clipper, then place them in a vessel of warm water for at least an hour. The carrots with tops will hydrate best by being fully submerged in warm water. Soaking them in my kitchen sink worked really well for me. However, if you have a divided sink, filling an oblong roasting pan with warm water might be a good alternative. I would recommend at least an hour for the carrots as well. Be sure to dry the carrot tops gently by patting them with paper toweling before inserting them into the oasis.
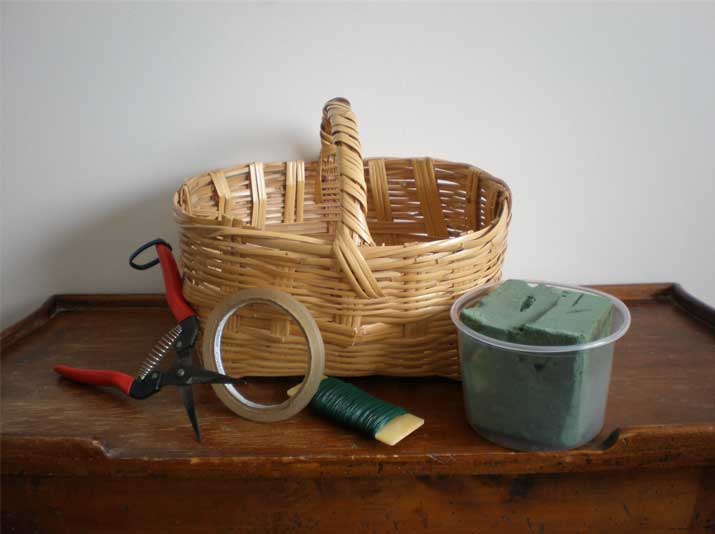
So to get started, I lined my basket with wax paper to catch any drips from the plastic liner filled with oasis and water. I also placed bubble wrap in the bottom to elevate the liner closer to the top of the basket. Tools and supplies that I used included a floral clipper, oasis, and clear tape. To secure the oasis in the liner, I used a single strip of clear tape across the oasis and secured the tape to the outside of the liner.
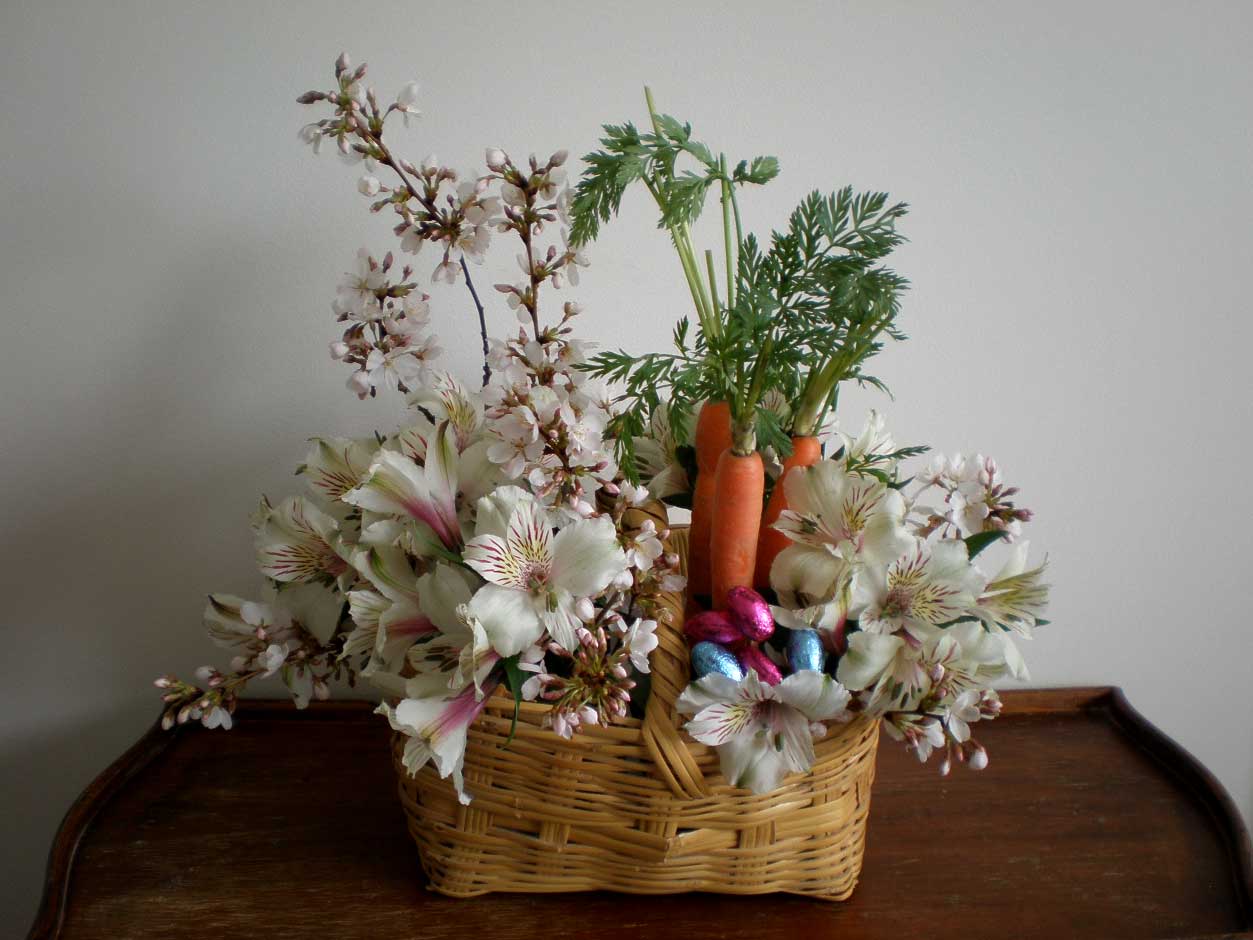
Now that the flowers and (carrots) are fully hydrated, I am ready to add flowers and Easter accents. I started with the twigs that have tiny pinkish blossoms on the left of the handle, then added the carrots with tops close to the basket handle on the right. With the outline of the tiny twig blossoms and carrots with tops, I have the “bones” of the design. Adding the small lilies comes next. Since each lily stem has multiple blossoms, I am fond of gathering the blossoms tightly together and securing them with a small piece of clear tape. In my opinion, it makes a more impactful statement as a single flower. The last thing to be added is a cluster of small chocolate eggs that are wrapped in pink and blue foil. Heavy gauge paddle wire can be used to pierce the chocolate eggs, thus creating a pick to secure each one to the oasis.
The light colored basket that I used is 10” long and 9” wide. The handle height is 8” and the depth of the basket is 5.5”. The finished height of the arrangement is 17” and the finished width is 14”.
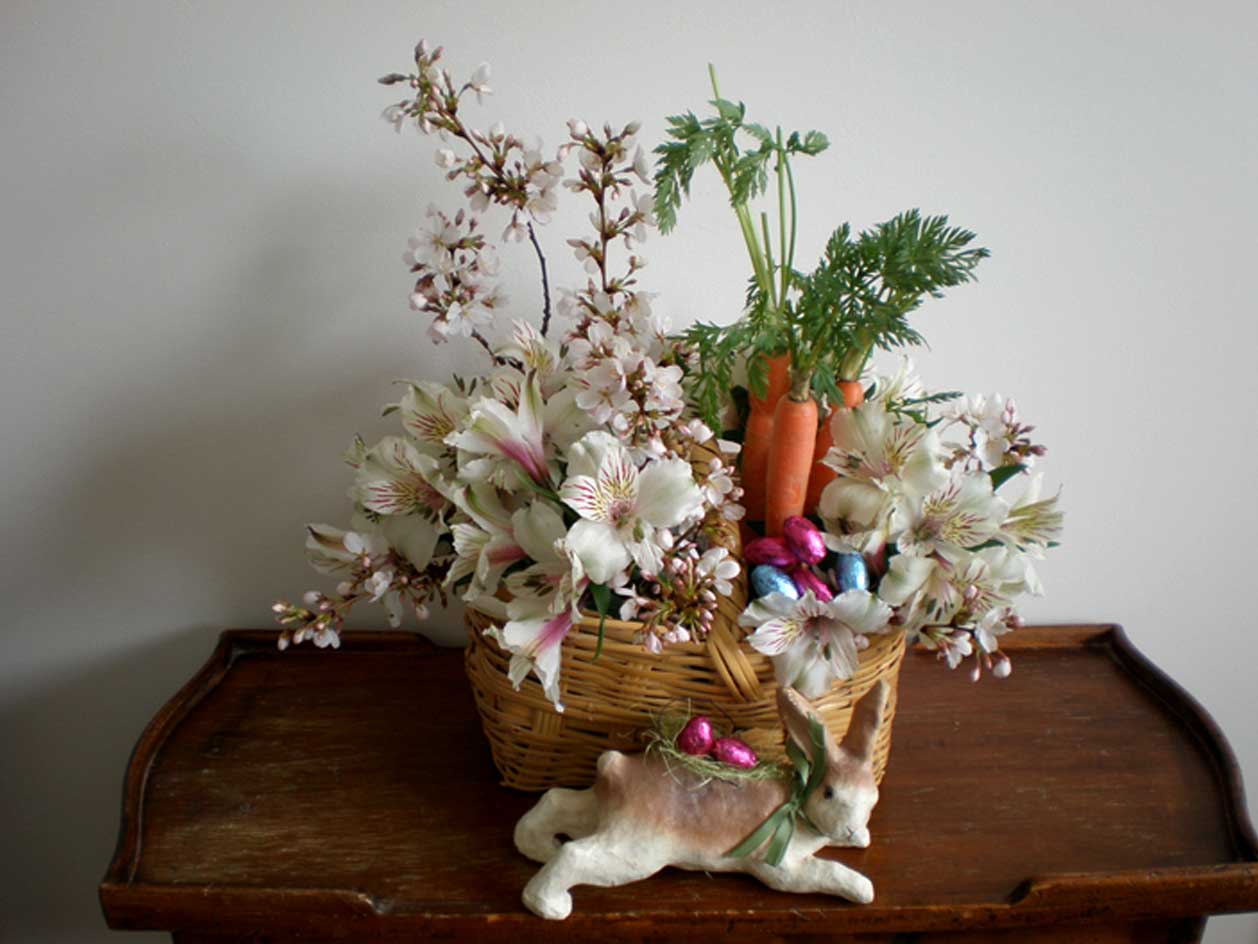
Just as I was finishing the whimsical Easter basket, an astonishing thing happened! The Easter bunny showed up to bring more chocolate eggs! Lucky me…
by Evelyn Kinville, Behnke’s Garden Blogger

Comments (0)