Time to Deck the Halls
As a florist, I have created many kissing balls as decorations for customers who love them, especially for Christmas parties or family Christmas dinners. This year I had time to be curious about where and when this lovely tradition began. So I decided to ask “Mr. Google”. Here’s what he had to say.
“The kissing ball is a tradition that started in England during the Middle Ages. The holiday kissing ball, which was referred to as “holy boughs” during that time period, is designed to be hung over doorways as an omen of good will to all who visit. It is also a sign that the homeowner embraces or welcomes visitors.” (Source: reference.com/holidays-celebrations/history-kissing-ball)
Well…I had no idea the tradition was that old, so the pressure is really on to guide you through the steps needed to create a kissing ball. I don’t want to mess with tradition.
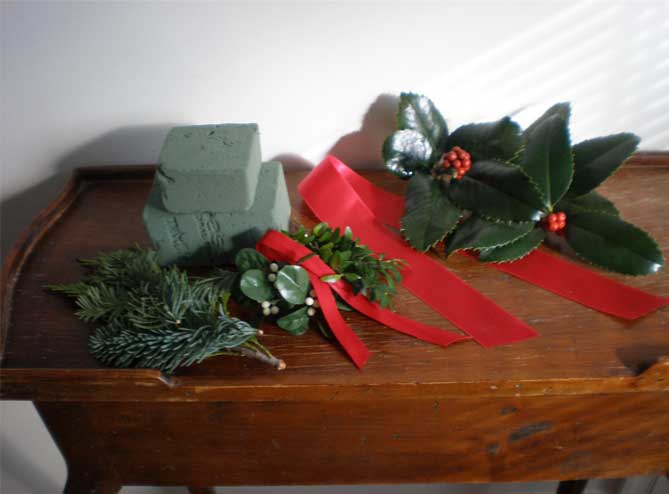
To create a kissing ball, you will need oasis, evergreens (and holly is OK), ribbon (your choice of color), and maybe even a touch of mistletoe. By the way, the early Greeks believed that mistletoe had mythical qualities.
The mechanics of creating the kissing ball are the most important! The finished kissing ball must hang securely on a nail or hook that will support the weight of wet oasis and the greenery.
The ribbon that it will be hung by must be securely anchored to the oasis. This is best accomplished by attaching a long, strong wire to the ends of the ribbon that the kissing ball will hang from. Pierce the wire all the way through the oasis leaving the wire long enough to stick out the bottom of the oasis. Bend the protruding wire into an L shape for extra support. Oasis is available in a ball shape at most craft stores, however it is more expensive in that form. I prefer using a portion of a regular block.
Now you are ready to soak the oasis and let it drain so it doesn’t drip while you are adding the greenery. I have chosen a variety of evergreens and holly and red satin ribbon.
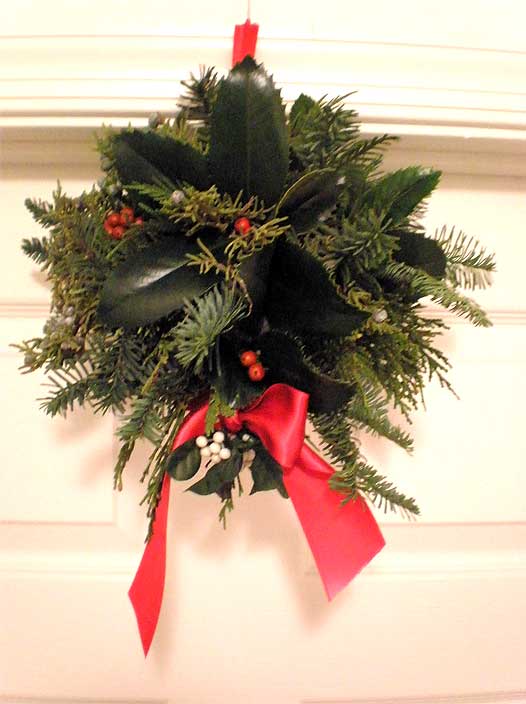
The best way to stabilize the oasis while you insert the stems of greenery is to rest it on a plastic or glass bowl as you insert the greenery. The bowl should be wide enough to support the oasis, but not so wide that it would fall into the bowl. Protect the narrow red satin ribbon hanger as you work your way around the oasis adding greens. I also chose to add a touch of mistletoe at the bottom of the kissing ball. The mistletoe is showcased with a wider red satin bow! The diameter of my finished Christmas kissing ball is about 8”.
I hope you will enjoy proudly welcoming guests with your artful kissing ball this Christmas!
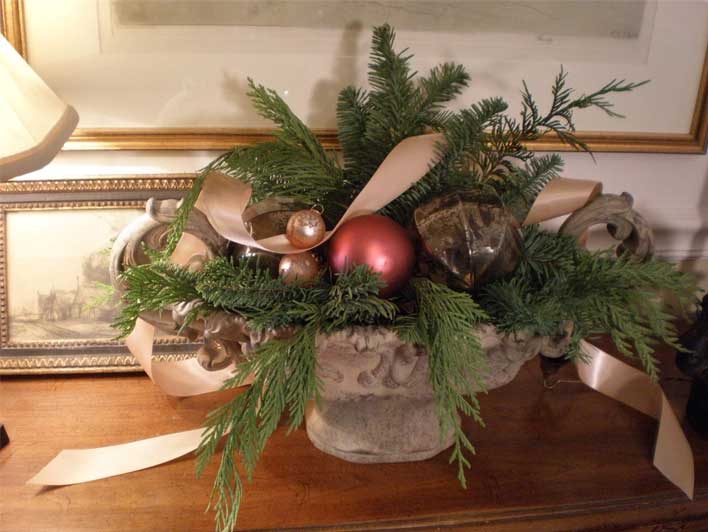
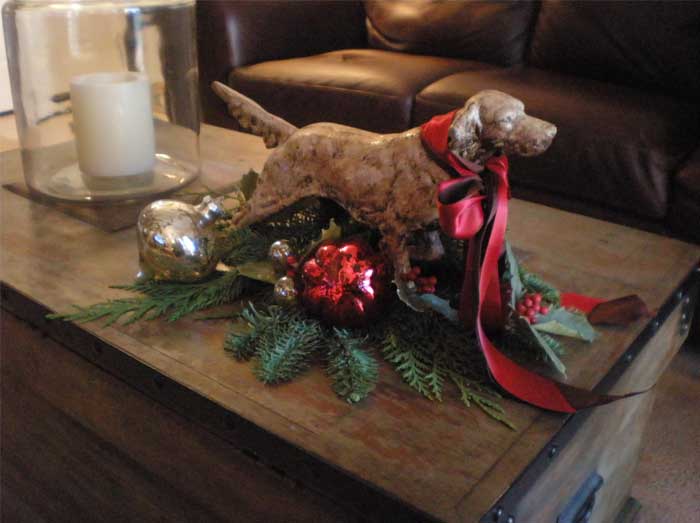
In the spirit of Christmas, I would like to share a photo of a container that debuted at Thanksgiving and now is filled with evergreens, Christmas balls and ribbon (see top of page). And please enjoy seeing the cast iron English Setter named Jack, all dressed up and ready for Christmas!
by Evelyn Kinville, Behnke’s Garden Blogger

Comments (0)